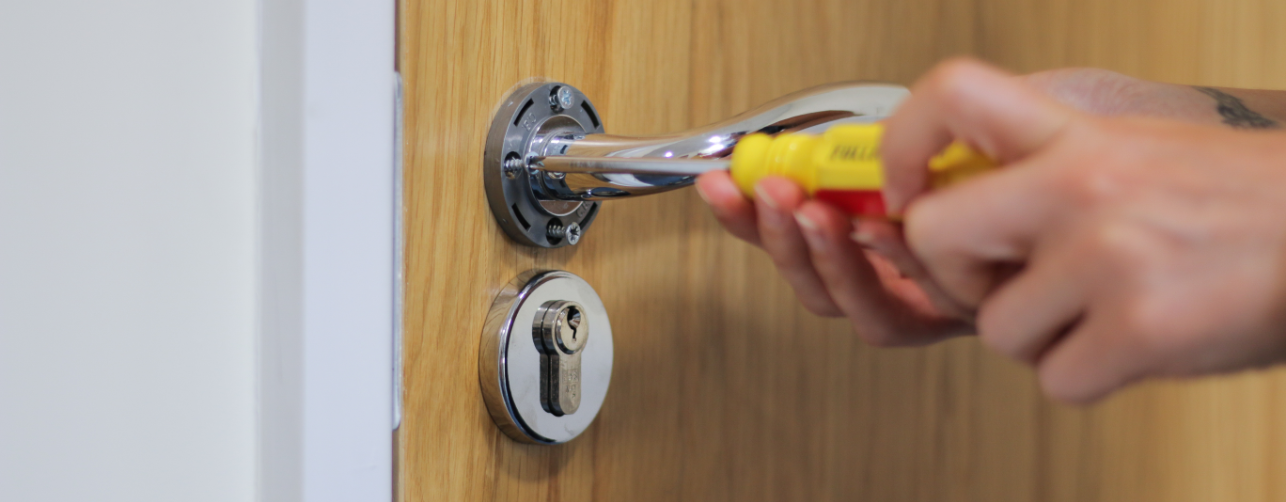
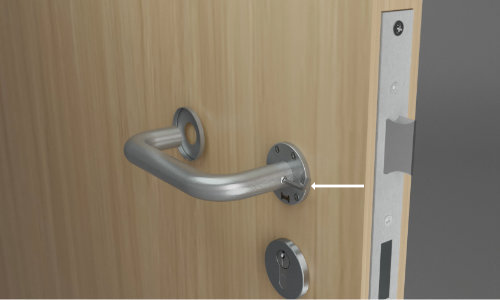
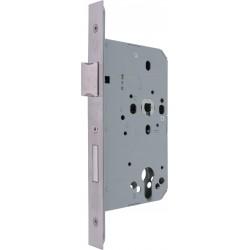
Your door has already been measured, marked up, and fitted with a euro profile mortice cylinder lockcase. The strike plate has been installed in the door frame. A hole has been drilled through the door for the 8mm spindle. Pre-drilled pilot holes in the door have been made for the wood screws and bolt through fixings.
Whether this preparation was done on site, in-factory, or a pre-prepared door was supplied, you’re now ready to fit your chosen pair of door handles.
Using a sashlock, mortice latch, or bathroom lock, this step by step guide will be able to guide you through how to fit internal door handles.
The lock or latch you’ve chosen, or that is existing in the door, dictates the backset of the handles from the edge of the door. Read our blog on door handle heights to establish how far up the door you should be fitting interior door handles.
How to Install A New Door Handle
1. Remove the cover roses from the handle sub plate.
These should easily pop off with minimal force or could be supplied separately in the box.
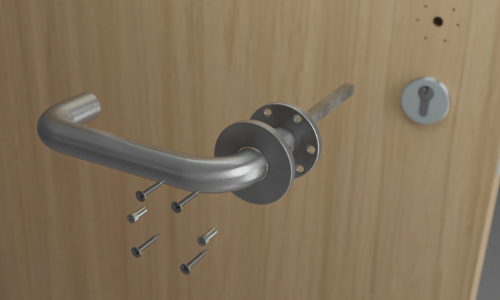
2. Slot all wood screws and bolt through fixings through the sub plates.
It is essential to install handles with all of the fixings supplied, particularly on fire doors, so the handles perform as required.
3. Thread the spindle through the door and the follower of the lockcase.
The spindle may need to be cut to length to suit the door thickness so the handles sit flush with the door.
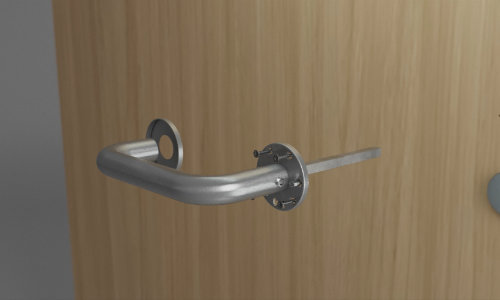
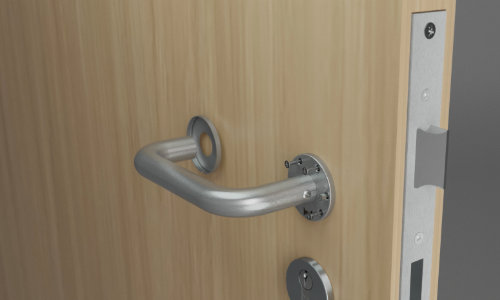
4. Push both halves of the handles up to the face of the door.
Ensure the spindle extends fully into both halves of the pair of levers.
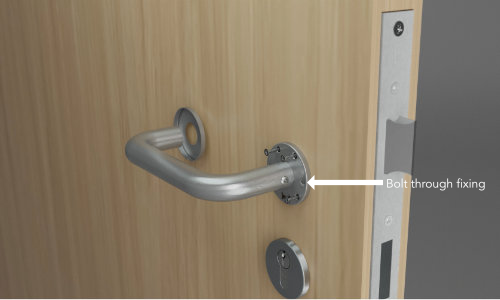
5. Align bolt through fixings with bolt fixing sleeves and secure firmly.
Make sure that both handles are fitted at the same height on both faces of the door otherwise the fixings won’t line up.
Bolt fixings prevent the levers from being pulled off of the door.
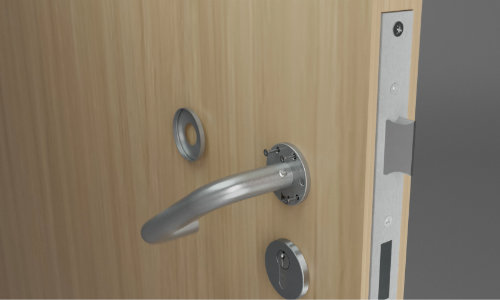
6. Test the lever handles before screw fixing.
This ensures the handles are in line with each other and that the spindle doesn’t bind.
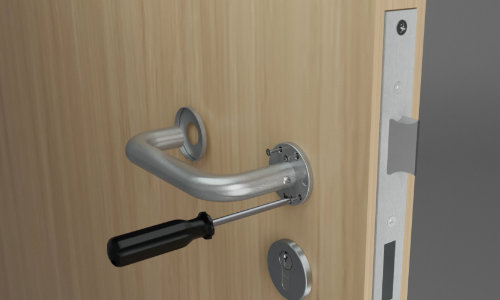
7. Screw in all wood screw fixings on both sides of the door.
These stop the rose sub plates from rotating.
8. Using an Allen key, wind in the grub screw until it is flush with the lever handle surface.
This holds the handles tight to the spindle.
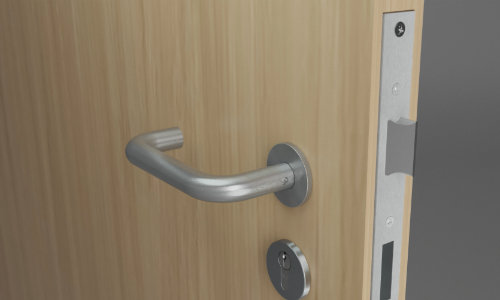
9. Press the cover rose onto both handles.
This hides the screw fixings, giving a clean finish and preventing the fixings from being tampered with.
Checks
●The lever handle sits level, not drooping
●Latch bolt fully retracts when the handle is pressed down
●Latch bolt returns when the handle is released
●There is no binding when the handle is operated
●The door opens and closes smoothly
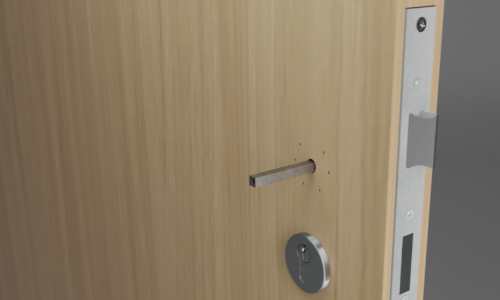
The same process we’ve covered for fitting handles to a brand new door applies to replacing a door handle. If you are replacing a handle on rose, make sure that the new one covers the existing drill holes and cutouts in the door.
Think about the centres and nearness of escutcheons or bathroom thumbturn when fitting door lever handles on rose. When installing a separate tubular latch and deadbolt, don’t make them too close together so the turn and handle rose are touching. This will be the case if you’re fitting a door handle for your home or commercial premises. Some people prefer to attach the strike plate after the handles are fitted, some before when the latch or lock is installed - the choice is yours.
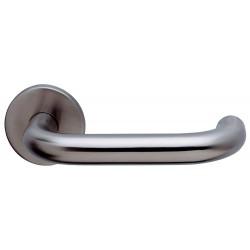
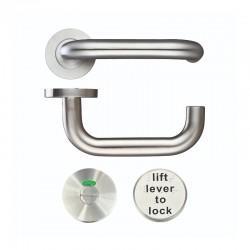
In the video above on how to fit a rose door handle, we have used the ARRONE AR961 safety lever on rose. They have a push on or press on cover rose. Some other handles will have a screw on rose, a rose with its own grub screw fixing, or visible face fixings. For face fixing handles simply screw the faceplate or rose to the door - no need for a cover plate.
You can learn how to remove this same pair of door handles by reading our blog or heading to our YouTube channel.
As Easy As 1, 2...9
If you’ve been through the steps on how to fit a door handle but need some help with terminology, we have a guide on parts of a door handle - rose and parts of a door handle - backplate.
These steps are pretty universal across many brands and styles of door lever handles. However, don’t ignore brand-specific guidelines or fitting templates if these are supplied with your purchase.
If you have any queries or questions, on door handles, door closers, access control, and more, contact our customer service team today.


Comments